Pests and Diseases
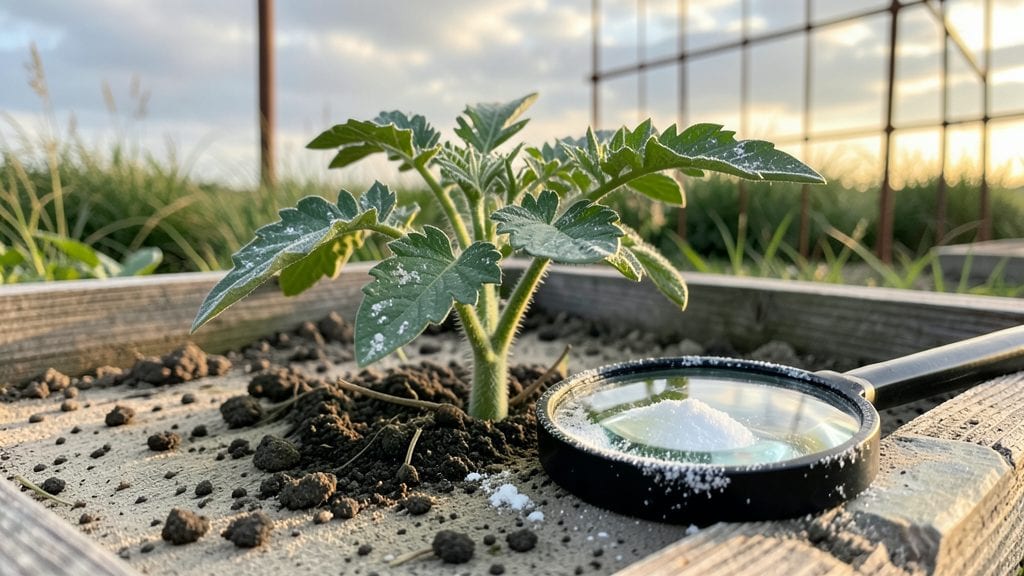
White spots on tomato seedling leaves mean your plants are under siege—usually by powdery mildew or another fungal foe. I’ve seen this ruin entire trays of seedlings in just days, but there’s a way to turn it around before it’s too late.
The key is acting fast, because once those spots spread, recovery gets harder.
Most white spots start as tiny dots that grow into fuzzy patches, especially on the undersides of leaves. Humidity and poor airflow create the perfect breeding ground, and seedlings under grow lights (or crowded too close) are the most vulnerable.
I’ve even spotted this after overwatering, when leaves stay damp too long. The good news? You can stop it in its tracks with the right moves.
Within 24 hours of treatment, you’ll see new growth pushing through cleaner leaves if you catch it early. I’ve revived seedlings with just baking soda spray or neem oil, but sometimes a mix of both works fastest.
The goal is to save your plants—not just treat the symptoms—so we’ll cover what actually works, not just what sounds good.
This fix works for seedlings in trays, pots, or even under grow lights. Whether you’re dealing with powdery mildew, early blight, or just stress spots, these steps keep your tomato starts healthy enough to transplant strong. Let’s get those leaves looking green again.
Root Causes of Leaf Spots
White spots on young tomato leaves aren’t just a cosmetic nuisance—they’re often a red flag from nature’s warning system. Understanding the why behind these blemishes is your first step toward saving your seedlings.
Below, we break down the most common culprits, their science-backed triggers, and how they hijack your plants’ health.
Fungi are the #1 cause of white or grayish spots on tomato seedlings, thriving in damp, humid conditions. Here’s how they strike:
- Powdery Mildew (Erysiphe cichoracearum or Oidium neolycopersici) - How it works: This fungus spreads via windborne spores, landing on leaves and forming a white, powdery coating (like dust).
It blocks sunlight, starving cells and causing yellowing. - Trigger factors: - Poor airflow (crowded seedlings or dense foliage). - High humidity (above 70% for prolonged periods). - Nighttime dew (fungus spores germinate best in moisture). - Tell-tale sign: Spots start small, then expand into web-like patches on both leaf surfaces.
- Alternaria Leaf Spot (Alternaria solani) - How it works: Darker spots (brown/black with yellow halos) may appear alongside white fuzzy growth.
This fungus feeds on decaying organic matter (like old leaves) and splashes onto seedlings via water. - Trigger factors: - Overhead watering (splashing soil-borne spores onto leaves). - Warm, wet weather (ideal for spore germination: 75–85°F). - Weak seedlings (stressed plants can’t fight off infections).
- Early Blight (Alternaria alternata) - How it works: Starts as tiny white or tan spots with concentric rings, later turning crusty.
It attacks older leaves first but can spread to seedlings in severe cases. - Trigger factors: - Contaminated soil (old crop residues or infected compost). - Cool nights + warm days (fungus loves 50–80°F temperature swings).
Not all white spots are fungal—some are pest calling cards. Here’s how insects leave their mark:
- Spider Mites (Tetranychus urticae) - How it works: These microscopic pests pierce cells, sucking out chlorophyll and leaving stippled, white or yellow spots.
Heavy infestations cause leaves to look bronzed or silvery. - Trigger factors: - Dry, hot conditions (mites thrive in low humidity). - Dusty leaves (blocks natural predators like ladybugs). - Stressed plants (drought or nutrient deficiency = easier prey).
- Whiteflies (Bemisia tabaci) - How it works: Adults cluster on undersides, excreting sticky honeydew that fosters sooty mold (black fungal growth).
Their feeding causes white, waxy spots and leaf curling. - Trigger factors: - Greenhouse or indoor grows (they love warm, sheltered environments). - Over-fertilization with nitrogen (soft, sappy leaves = buffet).
Sometimes, white spots aren’t biological—they’re your plants screaming for help due to harsh growing conditions:
- Chlorosis (Nutrient Deficiency) - How it works: White or pale spots appear when leaves can’t produce enough chlorophyll due to lack of magnesium, iron, or zinc.
Common in alkaline soils (pH > 7.0), where nutrients become locked. - Trigger factors: - Overwatering (leaches nutrients from root zone). - Compacted soil (roots can’t access minerals). - Improper pH (test your soil—tomatoes prefer 6.0–6.8 pH).
- Chemical Burn or Overspray
- How it works: Bleached white patches can form if seedlings are hit by herbicides, fungicides, or even tap water with high chlorine.
- Trigger factors:
- Wind drift during pesticide application.
- Over-fertilizing with synthetic salts (burns leaf tissue).
- Hail or Physical Damage
- How it works: Tiny white specks may appear after hail, sandblasting (in greenhouses), or even rough handling during transplanting. Unlike fungal spots, these are irregular and lack fuzzy texture.
Use this table to narrow down the cause:
| Spot Type | Color/Texture | Leaf Surface | Other Clues |
|---|---|---|---|
| Powdery Mildew | White, powdery | Top & bottom | Web-like, spreads fast in humidity |
| Alternaria Spot | Dark brown/black with yellow halo | Top | Crusty centers, often near stem |
| Spider Mites | Stippled white/yellow | Top | Fine webbing, dry conditions |
| Whiteflies | White, sticky honeydew | Bottom | Adults flutter when disturbed |
| Chlorosis | Pale white/yellow | Even | Veins stay green, soil pH > 7.0 |
| Chemical Burn | Bleached white, irregular | Top | Edges may look scorched |
Pro Tip 💡: Magnify the spots with a handheld lens—fungal spots often have fuzzy edges, while pest damage looks punctured or webbed. When in doubt, snip a leaf and send it to a local extension office for testing!
Fixing White Spots Fast
Now that you’ve identified the cause of those pesky white spots on your tomato seedlings, it’s time to act! 🚀 The good news? Most issues are treatable with simple, garden-friendly fixes.
Below, we’ve mapped out practical solutions for each common cause—plus prevention tips to keep your seedlings thriving. Grab your gloves, and let’s get to work!
Fungal spores love damp, crowded conditions, so the key is disrupting their party while giving your plants a fighting chance.
🔥 Step 1: Isolate & Prune
- Remove affected leaves (don’t compost them—toss in the trash or burn). Fungi spread like wildfire, and even a tiny infected leaf can reinfect your garden.
- Space out seedlings if they’re packed too tightly.
Aim for 12–18 inches apart to improve airflow. - Avoid overhead watering—use a soaker hose or drip irrigation to keep foliage dry.
🍳 Step 2: Apply Fungicidal Sprays (Natural or Store-Bought)
| Solution | How to Use | Frequency |
|---|---|---|
| Neem Oil Spray | Mix 1 tsp neem oil + 1 tsp mild soap + 1 quart water. Spray early morning (avoid direct sun). | Every 5–7 days until cleared. |
| Baking Soda Spray | Combine 1 tbsp baking soda + 1 quart water + few drops of dish soap. Shake well before spraying. | Every 7–10 days. |
| Copper Fungicide | Follow label instructions (e.g., Cheshunt Compound). Safe for edibles after drying. | Every 10–14 days. |
| Milk Spray | Dilute 1 part milk to 9 parts water. Spray on leaves (milk contains fungicidal properties!). | Every 3–5 days. |
🌡️ Step 3: Adjust Growing Conditions
- Improve drainage: Ensure pots/containers have drainage holes and use well-draining soil.
- Water in the morning so leaves dry quickly.
- Mulch around seedlings with straw or grass clippings to reduce soil splashing (which spreads spores).
> 💡 Pro Tip: Prevent recurrence by rotating crops next season—don’t plant tomatoes or nightshades in the same spot for 3 years.
Tiny pests can leave white, stippled marks as they feed. Here’s how to kick them out for good.
👨🍳 Step 1: Blast Them Off
- Spray with water: A strong stream from the hose (early morning) can knock off mites and aphids.
- Use insecticidal soap: Mix 2.5 tbsp mild castile soap + 1 quart water.
Spray directly on pests (avoid flowers to protect pollinators). - Neem oil again! (Same recipe as above—it works on both fungi and pests.)
🔪 Step 2: Introduce Beneficial Bugs
- Ladybugs (eat aphids) or predatory mites (control spider mites). Buy them online or from garden centers.
- Plant companion flowers like marigolds or nasturtiums to attract pest-eating insects.
⏰ Step 3: Quarantine & Monitor
- Check undersides of leaves daily (pests love hiding there).
- Yellow sticky traps can catch flying pests like whiteflies.
> 🎯 Prevention Tip: Avoid over-fertilizing with nitrogen—soft, sappy leaves attract pests. Use a balanced 10-10-10 fertilizer instead.
If white spots are crusty or dry (not fuzzy or powdery), your seedlings might be sunburned or heat-stressed.
🌿 Step 1: Provide Shade
- Use shade cloth (30–50%) if temps exceed 85°F (29°C).
- Move seedlings to a partially shaded spot (e.g., under a tree or patio awning).
- Mulch heavily to keep roots cool.
💧 Step 2: Hydrate Properly
- Water deeply in the morning (1–2 inches per week, depending on soil).
- Avoid wetting leaves at high noon to prevent evaporation stress.
- Mist seedlings lightly on extremely hot days (but avoid fungal risks).
🌱 Step 3: Harden Off Gradually
If seedlings were indoor-started, gradually expose them to direct sun over 7–10 days before transplanting.
> ✨ Bonus Tip: Reflective mulch (like white plastic sheeting) can reduce heat stress—just bury edges to avoid burning roots.
White crusty deposits from fertilizer buildup or poor water quality? Flush the soil and adjust habits.
🚰 Step 1: Flush the Soil
- Water thoroughly for 10–15 minutes to leach out excess salts or chemicals.
- Repeat 2–3 times over a week to restore balance.
📊 Step 2: Test & Adjust Fertilizer
- Use a soil test kit (available at garden centers) to check pH and nutrient levels.
- Switch to organic fertilizers (like fish emulsion or compost tea) for a gentler feed.
- Avoid synthetic fertilizers until the issue clears.
💡 Step 3: Improve Water Quality
- If using tap water, let it sit out for 24 hours to reduce chlorine.
- Collect rainwater for watering (if possible—it’s pH-neutral).
> 🔥 Hot Fix: Epsom salt rinse (1 tbsp per gallon of water) can help if magnesium deficiency is the culprit.
Final Reminder: Act fast—the sooner you treat white spots, the better your seedlings’ chances of recovery! 🌱 With these fixes, your tomato plants should bounce back in 1–2 weeks. Stay vigilant, and happy gardening!
Frequently asked questions about white spots on tomato seedlings
Why do my tomato seedlings get white spots so quickly?
Seedlings are especially vulnerable because their delicate leaves can't fight off fungal infections like powdery mildew or environmental stress. High humidity, poor airflow from crowded trays, and frequent moisture on leaves create perfect conditions for spores to take hold within just 3-5 days of exposure. The faster you act, the better their chances of recovery!
Can I still save my seedlings if the white spots have spread to most leaves?
You can try, but success depends on how severe the infection is. If you see fuzzy white growth (powdery mildew) or crusty brown patches (Alternaria), prune the worst leaves immediately and apply neem oil or baking soda spray. For advanced cases, consider starting fresh with new seedlings—sometimes prevention is better than cure when dealing with fungal spread.
Is it safe to use milk spray on tomato seedlings?
Yes! Milk spray is a proven organic remedy that contains natural fungicidal properties. Mix 1 part milk to 9 parts water and spray on leaves every 3-5 days until the spots disappear. Just avoid using it when temps exceed 85°F (29°C), as milk can spoil in heat. It's especially effective for powdery mildew prevention.
Will white spots on seedlings ruin my entire tomato crop?
Not necessarily! If you catch it early and treat aggressively, seedlings can recover enough to produce fruit. The key is to remove infected leaves immediately, improve airflow, and maintain proper watering habits. Transplant healthy seedlings to fresh soil after treatment to minimize reinfection risks. Even with some leaf damage, your plants can still grow strong with proper care.
How do I prevent white spots from appearing in the first place?
Focus on these 3 prevention strategies:
- Space seedlings 12-18 inches apart for airflow,
- Water at soil level (never overhead) in the morning, and
- Use reflective mulch or shade cloth if temps exceed 85°F (29°C). Regularly inspect leaves and remove any suspicious spots immediately. A preventive spray of neem oil every 2 weeks can also create a protective barrier.