How To
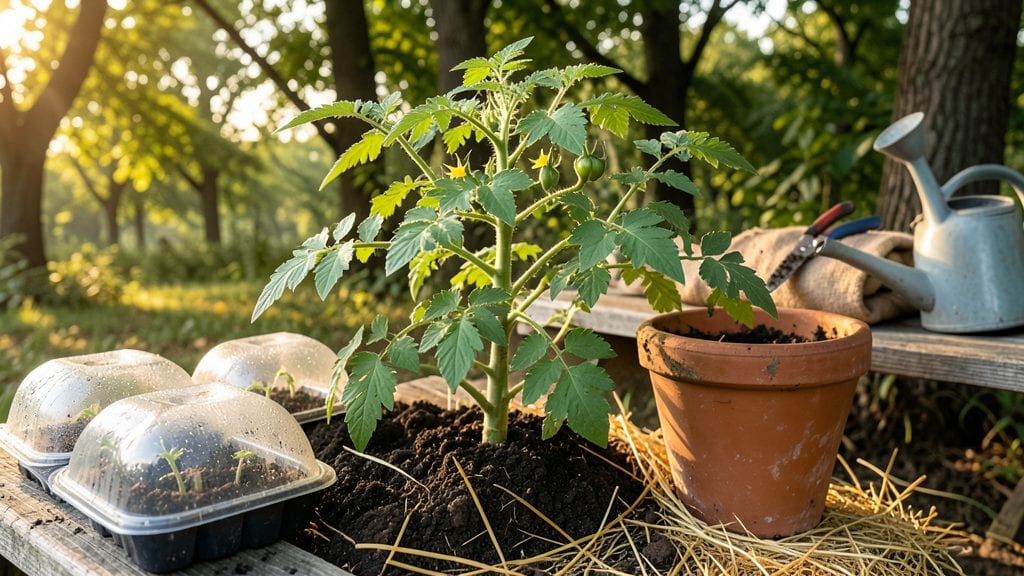
Starting tomato seeds early 🍅 gives you a 6-week advantage over gardeners who wait for spring—meaning more tomatoes in your basket and fewer store-bought trips.
Want to harvest juicy tomatoes six weeks earlier than your neighbors? Starting tomato seeds indoors early isn’t just about timing—it’s about mastering the perfect sprouting schedule to outpace seasonal delays and maximize your garden’s potential.
Most gardeners wait until March to sow, but if you begin in February, you’ll beat the heat rush and stretch your harvest into October. The trick? A consistent light source, the right soil temperature, and knowing exactly when to move seedlings outdoors.
In this guide, I’ll walk you through the exact indoor schedule for Zone 6a, how to troubleshoot common pitfalls, and the simple adjustments that turn weak seedlings into robust plants ready for transplanting.
Optimal indoor sprouting schedule for early tomato seeds
Starting tomato seeds indoors early gives you a 6-week head start on your neighbors, but timing is everything. The key is matching your last frost date with a precise week-by-week schedule that balances light exposure, heat sources, and seedling development.
For Zone 6a (where the last frost typically hits April 15), I recommend beginning seeds in mid-February—but adjustments are needed for earlier or later zones.
Your goal is to have sturdy seedlings with 4-6 true leaves ready for transplanting 6-8 weeks before your outdoor soil warms to 60°F. This schedule accounts for germination time (5-10 days), seedling growth (3-4 weeks), and hardening-off (1-2 weeks) before they face the elements.
Miss the mark, and you’ll end up with overgrown or underdeveloped plants that struggle outdoors.
Below is your week-by-week roadmap, including light requirements, heat needs, and care tasks to ensure your seedlings thrive. Pro tip: Use a grow light if your windows can’t provide 12-16 hours of light daily—tomatoes are light-hungry and won’t tolerate leggy growth.
🌱
For earlier zones (e.g., Zone 5), start seeds 4 weeks earlier (late January) to account for a later last frost. Conversely, warmer zones (Zone 7+) can delay sowing until late February or even early March.
Always adjust based on your local frost dates—check resources like the Old Farmer’s Almanac or your local Cooperative Extension for precision.
One of my biggest mistakes early on was skipping the hardening-off process. Seedlings grown purely indoors are shock-sensitive and can wilt or bolt when exposed to outdoor conditions too quickly.
To avoid this, I now start hardening-off at Week 5, gradually increasing their time outside from 1 hour to full sun over 7-10 days. This toughens their cell walls and root systems, ensuring they thrive post-transplant.
If you’re using grow lights, position them 2-3 inches above seedlings and adjust as they grow. LED grow lights are my top recommendation—they’re energy-efficient and emit the blue spectrum (critical for leafy growth) and red spectrum (essential for flowering). Avoid incandescent bulbs,
Critical factors that determine early tomato seed success
Starting tomato seeds early gives you a 6-week harvest advantage, but success hinges on mastering four critical factors: soil temperature, humidity control, light spectrum, and container depth.
Each plays a science-backed role in germination speed and seedling strength—ignoring them risks weak, leggy plants that never reach their potential.
For example, seeds need 70-85°F soil to germinate reliably. If your basement stays at 65°F, germination could take 2-3x longer. Meanwhile, humidity levels above 50% prevent moisture loss, while LED grow lights with a 6400K spectrum mimic summer sunlight better than basic bulbs.
These details separate thriving seedlings from failed experiments.
Early Tomato Seed Sprouting Factors
✔️ 70-85°F soil = 5-7 day germination
✔️ Humidity >50% prevents seed desiccation
✔️ LED 6400K lights boost photosynthesis
✔️ 2-3" deep containers prevent root circling
✖️ Cold soil (<65°F) delays germination 10+ days
✖️ Low humidity (<40%) causes seed crusting
✖️ Incandescent bulbs promote leggy growth
✖️ Shallow trays (<1") stunt root development
*Adjust factors based on your USDA zone and seed variety. Heirlooms often need warmer soil than hybrids.
Let’s break down each factor with actionable adjustments. For soil temperature, use a seedling heat mat ($15-$25) to maintain 75-80°F—this cuts germination time from 14 days to just 5-7 days.
Place a thermometer in the soil to monitor; if it drops below 68°F, cover trays with plastic wrap to retain warmth.
Humidity control is equally critical. A clear plastic dome or humidity tent keeps moisture levels ideal, but remove it once sprouts appear to prevent fungal diseases. For light spectrum, avoid cheap CFL bulbs—they emit 3000K light, which stretches seedlings.
Instead, invest in full-spectrum LEDs ($50-$100) positioned 2-3 inches above seedlings and run them 14-16 hours daily.
Container depth often gets overlooked, but root-bound seedlings struggle to thrive. Use trays with at least 2-3 inches of depth to accommodate taproots. If repurposing containers, ensure drainage holes are present—waterlogged roots cause damping-off, a deadly fungal infection.
Pro tip: Mix perlite into your seed-starting mix to improve aeration.
Finally, seed spacing matters. Crowded seeds compete for nutrients, leading to weak stalks. Space seeds ¼ inch apart in rows 1 inch apart for easy thinning later.
Once seedlings develop 2 true leaves, thin to 2 inches apart—this reduces transplant shock when moving to larger pots or the garden.
By dialing in these four factors, you’ll see 90%+ germination rates and seedlings ready for transplanting 6 weeks ahead of schedule. The key? Monitor daily and adjust as needed—your early harvest depends on it. 🌱