Picking
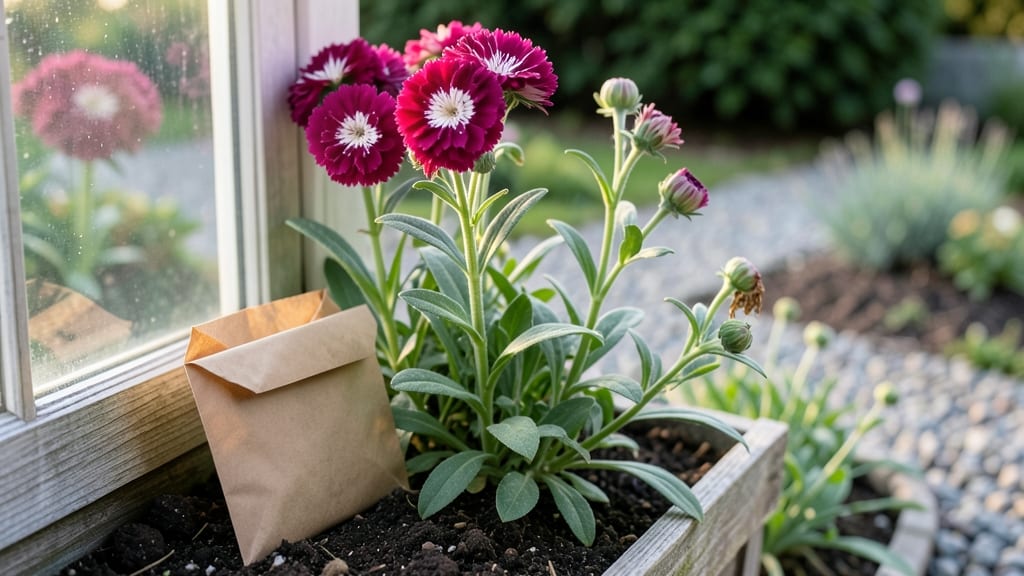
The best time to harvest dianthus seeds is when the pods turn from green to a papery brown—usually late summer to early fall after the blooms fade. 🌿 I’ve learned the hard way that waiting too long means the pods crack open, scattering seeds everywhere, while harvesting too early leaves you with nonviable seeds.
The key is catching them at that perfect moment when they’re dry but still intact.
You’ll need just a few simple tools: a small paper bag or envelope for collecting, a pair of scissors or pruners, and a dry, well-ventilated spot for storage. Dianthus seeds are tiny, so a fine-mesh sieve helps separate them from chaff later.
The goal is to keep them moisture-controlled—too damp, and they’ll mold; too dry, and they lose viability. A sealed container with silica gel packets works wonders for long-term storage.
Once you’ve harvested, spread the pods on a tray to dry completely before storing. The seeds should be firm and dark when ready. Plant them in early spring, and you’ll be rewarded with those same vivid blooms—pinks, reds, and whites—returning year after year.
The trick is patience; dianthus seeds need cold stratification to germinate, so a quick outdoor winter or fridge stint does the trick.
If you’re worried about seeds drying out or sprouting too soon, store them in the freezer for a few weeks before planting. This mimics natural winter conditions and boosts germination rates. With the right timing and care, you’ll have a self-sustaining dianthus patch that keeps blooming like clockwork.
📚 In This Guide
- What you need
- Instructions
- Tips and common mistakes
- Wrapping up and next steps
What you need
- ● Mature Dianthus Plants: Healthy, fully bloomed plants (choose varieties like Dianthus barbatus or Dianthus chinensis for best seed production).
- ● Sharp Pruning Shears: 1 pair (sterilized with rubbing alcohol to prevent disease transfer).
- ● Paper Bags or Envelopes: 5–10 (brown kraft paper works best for airflow; size: 4" x 6" or larger).
- ● Labeling Supplies: Permanent markers (2–3) or small tags.
- ● Pencil or fine-tip marker for writing on paper.
- ● Drying Rack or Mesh Screen: 1 (for airflow; a wooden frame with mesh or a wire rack works well).
- ● Humidity-Controlled Storage: Air-tight containers (e.g., glass jars or resealable plastic bags with silica gel packets).
- ● Silica Gel Packets: 2–3 (to absorb moisture; available at craft or hardware stores).
- ● Fine-Mesh Sieve or Sifter: 1 (to separate seeds from chaff; 1–2 mm mesh size ideal).
- ● Desiccant Moisture Indicator: 1 (to monitor humidity levels in storage; available online or at gardening stores).
- ● Seed Envelope Organizer: 1 (for categorizing seeds by variety, color, or harvest year).
- ● Gloves: 1 pair (nitrile or cotton, to keep hands clean while handling seeds).
- ● Notebook or Spreadsheet: For tracking seed varieties, harvest dates, and storage conditions.
Step-by-Step instructions for harvesting dianthus seeds
Here's how to collect and store dianthus seeds so next year's blooms stay as vibrant as the first.
🌱 Step 1: Wait for Seed Pods to Mature Fully
Dianthus seed pods form after flowers fade but won't release seeds until they're completely dry. Wait until the pods turn a papery brown color and begin cracking open naturally—this usually happens 4-6 weeks after flowering. You'll see them split along one side, revealing tiny black seeds inside.
Don't rush this step. Harvesting too early means immature seeds that won't germinate. I like to check pods daily during the final two weeks of maturity, as they release seeds quickly once they open. Use a small mesh bag to catch any seeds that fall before you're ready to collect them.
💧 Step 2: Harvest Seeds on a Dry, Cloudy Day
Collect seeds on a dry, cloudy morning when humidity is low. This prevents moisture from sticking to the seeds and causing mold during storage. Gently twist open the dry pods with your fingers or use clean scissors to snip them from the stems. Place the pods in a paper bag (not plastic) to allow air circulation.
Real talk: Avoid harvesting after rain. Wet seeds develop fungal issues almost instantly. If you must collect after damp conditions, spread the pods on a clean towel in a dry, shaded spot for 24 hours to air-dry completely before storing.
⏰ Step 3: Dry and Separate Seeds Thoroughly
Spread the harvested pods on a clean, dry surface in a single layer. Let them dry for 3-5 days in a cool, dark place with good airflow—like a pantry or basement. Once fully dry, the pods will crumble easily when rubbed between your fingers. Remove any remaining stems or debris by hand.
Separate the seeds from chaff by gently rubbing the dried pods between your palms over a white sheet of paper. The tiny black seeds will fall out while lighter debris stays behind. Store only the clean seeds—this ensures better germination rates next spring.
🪴 Step 4: Store Seeds in Moisture-Controlled Containers
Place the dried seeds in a small, airtight container with a desiccant packet (like those used for electronics or medications). I use glass jars with tight-sealing lids because they keep out moisture while allowing me to see the seeds. Label each container with the variety name and harvest date—dianthus seeds stay viable for 2-3 years when stored properly.
Store the containers in a cool, dark place (around 40-50°F). Check them once a year to ensure the desiccant is still effective. If you notice any signs of moisture (like condensation on the lid), transfer the seeds to a new container with a fresh desiccant immediately.
Tips & tricks for perfect dianthus seed harvesting
These simple but essential tricks will help you preserve those precious dianthus seeds for vibrant blooms next season.
Timing Secret: In Step 1, when those pods turn papery brown and start cracking, act fast! The seeds release within hours once the pods open. I keep a small mesh bag handy to catch any seeds that fall prematurely. If you're not ready to process them immediately, place the entire plant in a paper bag and tie it shut to collect any stray seeds over the next day or two.
Drying Strategy: The 3-5 day drying period in Step 3 is crucial for preventing mold. I use a baking sheet lined with paper towels and place it in a well-ventilated area. If your kitchen is particularly humid, you might need to extend drying to 5-7 days. The seeds are ready when they no longer stick to your fingers - they should feel completely dry and almost brittle.
Storage Wisdom: For that perfect 40-50°F storage temperature mentioned in Step 4, I recommend using a basement or root cellar if available. If you don't have that option, the back of your refrigerator works well (just keep them away from the veggie drawer where humidity might be higher). Remember, those desiccant packets are your best friends - they're what keeps your seeds from absorbing any moisture that might sneak in.
Common Mistake Fix: If you accidentally harvest wet seeds (like after rain), don't panic! The 24-hour drying time in Step 2 works wonders. Spread them on a clean towel in a dry, shaded spot and let them air completely. You can even place a small fan nearby to speed up the process. Just be patient - thorough drying prevents mold that could ruin your entire seed batch.
Pro Tips for Harvest Dianthus Seeds
- These simple but essential tricks will help you preserve those precious dianthus seeds for vibrant blooms next season.
- Timing Secret: In Step 1, when those pods turn papery brown and start cracking, act fast! The seeds release within ho...
- Drying Strategy: The 3-5 day drying period in Step 3 is crucial for preventing mold. I use a baking sheet lined with ...
Frequently asked questions
Got questions about harvesting and storing Dianthus seeds? You’re not alone! Here are answers to the most common queries to help you save those seeds for next season’s stunning blooms.
When is the best time to harvest Dianthus seeds?
Harvest seeds when the seed pods turn brown and dry but before they split open. This usually happens 4–6 weeks after flowering, depending on your climate. If pods crack too soon, seeds may scatter—so act fast!
How do I know if my Dianthus seeds are viable?
Viable seeds are plump, firm, and dark-colored (often brown or black). Test a few by soaking them in water—if they sink, they’re likely good! Store them in a cool, dry place (like a paper envelope) for up to 3 years while maintaining viability.
Can I harvest seeds from hybrid Dianthus plants?
Hybrid Dianthus rarely produce true-to-type seeds because they’re bred for specific traits. If you’re after consistent blooms, buy fresh seeds instead. However, if you’re experimenting, go ahead—you might get surprise colors or forms!
What should I do if my seed pods mold or rot?
Mold or rot usually means excess moisture during harvest or storage. If pods are affected, discard them immediately—mold can spread to healthy seeds. To prevent this, harvest on a dry day and store seeds in a desiccant packet or silica gel.
Are there alternatives if my Dianthus doesn’t produce seeds?
If your plant skips seed production, try propagating from cuttings instead. Take 4–6 inch stem cuttings in early summer, dip in rooting hormone, and plant in moist soil. Alternatively, buy new seeds from a reputable supplier for guaranteed blooms next year!
Wrapping up and next steps
Harvesting dianthus seeds is a rewarding way to ensure vibrant blooms next season—just remember, proper moisture control and storage are your secret weapons! 🌱 With the right tools and techniques, you’ll be ready to sow fresh flowers with confidence.
Now that you’re equipped with the know-how, why not mark your calendar for seed-starting season and get those petals growing?
🌿 Next Steps:
- Label and organize your seed packets for easy access.
- Start researching ideal planting times for your climate.
- Share your success with fellow gardeners—inspiration spreads!