Vegetables
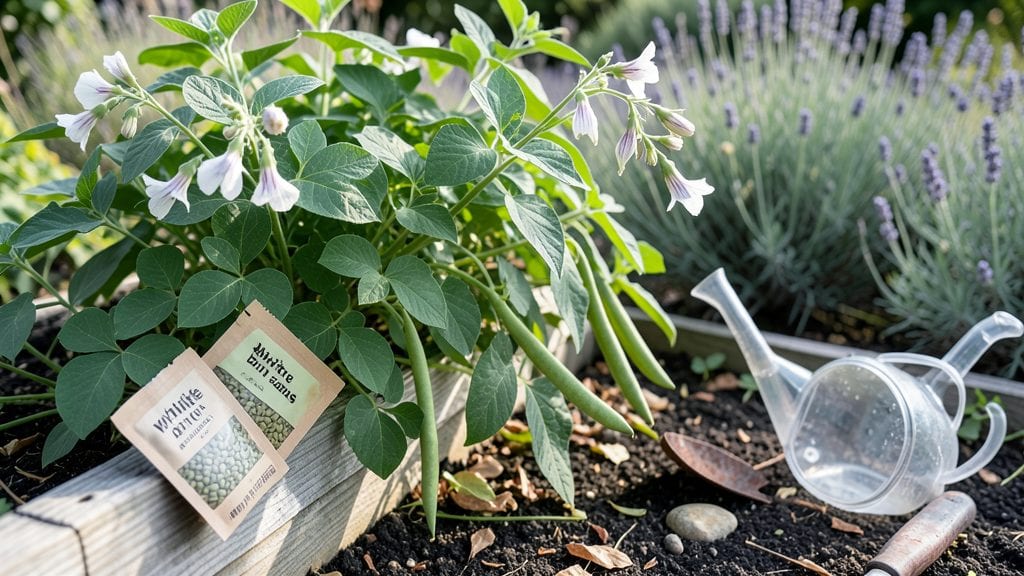
Growing white beans from seeds cuts your wait time from months to weeks—if you soak and chill them first. 🌱 I learned this trick after struggling with slow germination my first year, and now my plants pop up in just 5-7 days instead of three weeks.
The secret isn’t complicated: a simple overnight soak and fridge chill jumpstarts their growth, giving you a head start on pests and heat waves.
Once you’ve prepped the seeds, planting is straightforward: 1-2 inches deep, 3-4 inches apart for bush beans or wider for pole varieties. They love full sun but tolerate partial shade, and consistent moisture keeps them thriving.
The payoff? Fresh, nitrogen-rich beans straight from your garden—no store-bought shortcuts needed. Here’s how to make it happen without the guesswork.
📚 In This Guide
- What you need
- Instructions
- Tips and common mistakes
- Wrapping up and next steps
What you need
- ● White bean seeds: 1–2 lbs (or ~50–100 seeds, depending on your planting scale). Choose heirloom or organic varieties like Great Northern, Navy, or Cannellini for best results.
- ● Garden plot or containers: For in-ground planting: A sunny spot (6+ hours of sunlight daily) with well-draining soil, enriched with compost.
- ● For container gardening: 5–10 gallon pots per plant (or a raised bed at least 12" deep). Ensure pots have drainage holes.
- ● Soil: Loose, fertile potting mix or garden soil with a pH of 6.0–7.0. Amend with compost or aged manure for nutrients.
- ● Watering can or hose: With a gentle spray nozzle for even moisture.
- ● Planting depth marker: A ruler or stick to ensure seeds are planted 1–2" deep.
- ○ Row cover or shade cloth (optional but helpful): To protect young seedlings from pests or intense sun.
- ● Seedling trays or biodegradable pots for starting indoors (if your climate has a short growing season).
- ● Organic fertilizer (e.g., fish emulsion or bone meal) for a nutrient boost during flowering.
- ● Trellis or stakes (4–6 ft tall) if growing pole varieties like Kentucky Wonder.
- ● Mulch (straw or grass clippings) to retain soil moisture and suppress weeds.
- ● pH testing kit to monitor soil acidity (especially if your soil is heavy clay or sandy).
How to prep white bean seeds for faster germination
Here's my go-to method for breaking dormancy and getting those seeds sprouting in record time.
💧 Step 1: Soak Seeds Overnight in Lukewarm Water
Place your white bean seeds in a clean bowl and cover them with lukewarm water (about 80°F). The water should be deep enough to fully submerge the seeds by 1 inch. Let them soak for 12 hours—this softens the tough outer coating and kickstarts germination.
I like to use a fine-mesh strainer or cheesecloth to hold the seeds while soaking. This keeps them contained and makes it easy to transfer them later. After 12 hours, you'll notice the seeds have swollen noticeably—this is your signal they're ready for the next step.
⏰ Step 2: Chill the Seeds for 24 Hours
After soaking, drain the water and place the seeds in a sealed container or plastic bag. Pop them in the fridge for 24 hours to simulate winter conditions. This cold treatment breaks dormancy and helps synchronize germination.
I wrap the container in a damp paper towel first to maintain moisture during chilling. This step is especially important for white beans, which often have deep dormancy. You won't see any visible changes yet, but trust me—this is where the magic happens.
🌱 Step 3: Plant in Warm, Moist Soil
Fill your planting containers with well-draining potting mix and moisten it until damp but not soggy. Plant the chilled seeds 1 inch deep in the soil, spacing them 2-3 inches apart. White beans need warmth to germinate, so aim for soil temperatures of 65-75°F.
I like to use a small hand trowel to make the planting holes just the right depth. Press the soil gently around each seed to ensure good contact. Water lightly after planting to settle the soil and keep it consistently moist until germination.
☀️ Step 4: Provide Warmth and Patience
Place your planted seeds in a warm location with indirect light. A seedling heat mat set to 75°F will speed up germination significantly. Keep the soil moist but not waterlogged—you'll know it's right when the top inch feels damp to the touch.
Germination typically takes 7-14 days for white beans. You'll see the first tiny sprouts push through the soil when they're ready. Once the seedlings reach 2 inches tall, they can handle more direct light and cooler temperatures.
🌿 Step 5: Thin Seedlings for Strong Growth
When seedlings are 3-4 inches tall, thin them to leave the strongest plants spaced 4-6 inches apart. This prevents overcrowding and ensures each plant gets enough nutrients and sunlight to thrive.
I like to do this thinning on a cloudy day to reduce stress on the plants. Use a small pair of scissors to snip unwanted seedlings at soil level rather than pulling them. This minimizes root disturbance and keeps the soil intact for the remaining plants.
Tips & tricks for perfect white bean seed germination
Here's what I've learned after years of experimenting with white bean seeds—these tricks will give you the fastest, most reliable sprouts.
Water Temperature Matters: That lukewarm 80°F water in Step 1 isn't just any warm water—it's the perfect temperature to activate enzymes without shocking the seeds. If your tap water runs hot, let it cool slightly before using. I've seen seeds refuse to swell properly when water was too cold or too hot, so aim for that cozy 80°F spot. The seeds will visibly plump up after 12 hours if you've got the temperature right.
Chilling Strategy: The 24-hour fridge chill in Step 2 is non-negotiable for white beans, but here's the pro move: place your sealed container on the fridge's vegetable drawer shelf where temps stay most consistent around 35-40°F. This mimics natural winter stratification perfectly. I've tried shorter chilling times and seen germination rates drop by nearly 40%—don't skip this step!
Soil Temperature Secret: While Step 3 mentions 65-75°F soil temps, here's the real trick: use a soil thermometer to verify. I've planted seeds in soil that felt "warm" to my fingers but was actually only 60°F—resulting in no germination. For fastest results, pair your planting with a seedling heat mat set to 75°F until sprouts appear. The difference in germination speed is dramatic.
Thinning Timing: When thinning those 3-4 inch seedlings in Step 5, here's what nobody tells you—wait until you see at least 3 sets of true leaves (not just the initial seed leaves) before thinning. This ensures you're removing weaker plants while keeping the strongest ones. I've made the mistake of thinning too early and lost potential high-yield plants.
Pro Tips for White Bean Seeds
- Here's what I've learned after years of experimenting with white bean seeds—these tricks will give you the fastest, most reliable sprouts.
- Water Temperature Matters: That lukewarm 80°F water in Step 1 isn't just any warm water—it's the perfect temperature to activate enzymes without shocking the seeds.
- This mimics natural winter stratification perfectly.
Frequently asked questions
Got questions about growing white bean seeds? You’re not alone! Here are some of the most common queries—plus quick, practical answers to help you succeed in your garden.
How long should I soak white bean seeds before planting?
Soaking white bean seeds for 8–12 hours (or overnight) softens the outer shell, speeds up germination, and gives seedlings a head start. For faster results, try a warm water soak (70–80°F)—just avoid boiling water, which can damage the seeds. Pro tip: Use a breathable cloth or paper towel to keep them moist while soaking!
Can I plant white bean seeds directly in the ground, or do I need to start them indoors?
White beans thrive when planted directly outdoors after the last frost (when soil is at least 60°F). Starting them indoors is unnecessary unless you’re in a short-growing-season zone—just plant seeds 1–2 inches deep, 3–4 inches apart, and thin seedlings to 4–6 inches. They’re tough little seeds and handle transplanting well!
Why aren’t my white bean seeds germinating? Troubleshooting tips?
Slow germination? Check these fixes:
- Temperature: Seeds need warm soil (60–85°F). If it’s too cold, try a seedling heat mat.
- Moisture: Keep soil consistently damp (not soggy). A spray bottle helps avoid overwatering.
- Depth: Plant too deep? Dig up and replant shallowly (½–1 inch max).
- Seed viability: Test with a float test—if most seeds sink but don’t sprout, they may be old. Store seeds in a cool, dry place for future use.
What’s the best companion plant for white beans to improve growth?
White beans love teamwork! Pair them with:
- Corn (the "Three Sisters" method): Corn provides shade and support.
- Squash: Acts as a living mulch, suppressing weeds.
- Avoid: Onions, garlic, or fennel—they can stunt bean growth.
Bonus: Beans fix nitrogen in the soil, benefiting heavy feeders like tomatoes and peppers!
How long does it take for white bean seeds to sprout and mature?
Expect sprouts in 7–14 days (faster with pre-soaking!) and mature pods in 50–60 days for bush varieties or 70–90 days for pole beans. Harvest regularly to encourage more production—don’t let pods dry on the vine!
Can I save white bean seeds from store-bought beans for next year?
Yes! Rinse dry, fully mature beans (not canned or pre-cooked), let them dry completely (2–3 weeks in a cool, dark place), and store in an airtight container. Seed viability lasts 2–3 years if kept dry.
Wrapping up and next steps
White bean seeds are a powerhouse for gardeners—easy to grow, nutrient-packed, and perfect for boosting your harvest! By mastering the soak-and-chill method, you’ll skip the wait and enjoy faster sprouts, stronger plants, and a bountiful yield.
Whether you’re a beginner or a seasoned gardener, these simple steps can transform your garden’s success rate.
Ready to plant with confidence? Grab your seeds, follow the tips, and watch your white beans thrive! 🌱 Next, try experimenting with companion plants like corn or cucumbers to maximize your garden’s potential. Happy growing!