How To
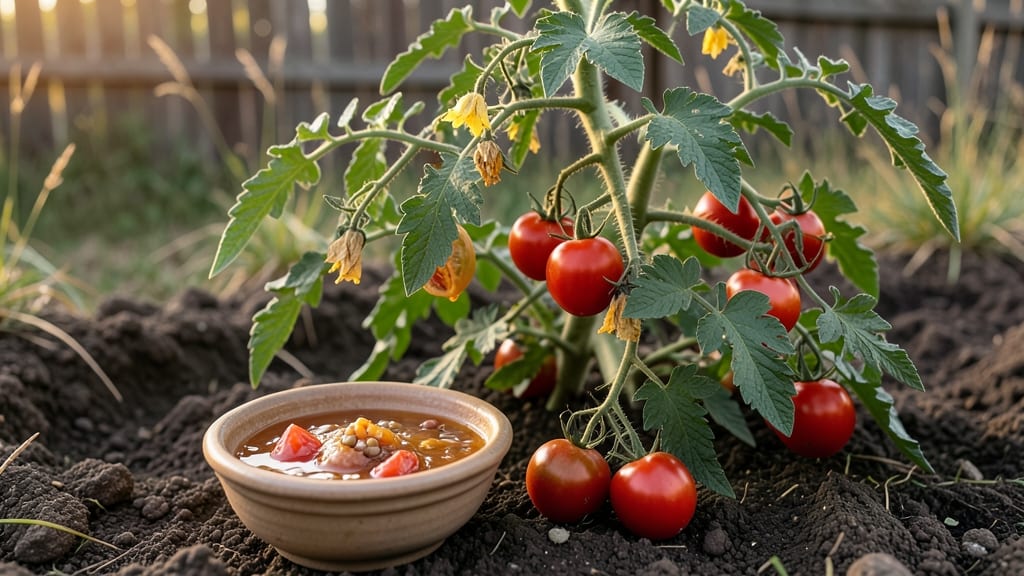
Harvesting tomato seeds for next year’s garden lets you keep the flavors and traits of your favorite 🍅 varieties alive—no store-bought seeds required.
Imagine biting into a juicy heirloom tomato, only to realize you’ve never saved its seeds. That’s how easy it is to lose generations of garden magic. But with just a bowl, some patience, and a few weeks, you can turn last year’s harvest into next year’s seed stock.
This isn’t just about saving money—it’s about preserving the unique flavors and characteristics that make heirloom tomatoes special. Plus, there’s something deeply satisfying about watching a seed you saved grow into a plant that produces fruit just like the one you loved.
Below, I’ll walk you through the exact steps to collect, ferment, clean, and store your seeds so they’re ready to plant in spring. No fancy equipment needed—just a little time and the right technique.


Step-by-step guide to harvesting tomato seeds from ripe fruit
Harvesting tomato seeds is one of the most rewarding parts of gardening—it connects you to the cycle of life in your own backyard. The key to success lies in selecting the right tomatoes, proper fermentation, and gentle drying.
Whether you're saving seeds from heirloom varieties like 'Brandywine' or 'Cherokee Purple', or even hybrid favorites, the process ensures your seeds remain viable and pure for next year’s garden.
Start by choosing fully ripe tomatoes that are overripe or showing signs of spoilage—these are ideal because their seeds have completed their development. Avoid green or underripe tomatoes, as their seeds won’t germinate well.
Once you’ve selected your tomatoes, the real magic happens in the fermentation process, which removes the gel surrounding the seeds and prepares them for drying.
Select and Slice
Choose 4-6 ripe tomatoes per variety. Cut them open and scoop out the seeds and gel into a clean bowl. Avoid metal bowls—use glass or ceramic to prevent contamination.
Ferment the Seeds
Fill the bowl with water until seeds are covered. Stir daily for 2-4 days to speed up fermentation. The gel will break down, and good seeds will sink while bad ones float.
Rinse and Drain
Pour the mixture through a fine-mesh strainer to separate seeds from gel. Rinse seeds with cool water until the water runs clear. Discard any floating debris.
Dry the Seeds
Spread seeds on a paper towel or screen in a single layer. Place in a warm, dry spot (like a sunny windowsill) for 3-7 days, stirring occasionally. They’re ready when hard and dry.
Store for Next Year
Transfer dried seeds to a paper envelope or airtight container. Label with the variety name and date. Store in a cool, dark place for up to 5 years.
Fermentation is where the magic happens. During this 2-4 day process, the gel surrounding the seeds breaks down, allowing you to separate viable seeds from non-viable ones. Good seeds sink, while bad ones float—this natural separation ensures you’re only saving the best seeds for next year.
Stirring the mixture daily helps speed up fermentation and prevents mold growth, which can ruin your entire batch.
Once fermentation is complete, rinse the seeds thoroughly to remove any remaining gel. This step is crucial because leftover gel can cause mold during drying. After rinsing, spread the seeds on a paper towel or mesh screen in a well-ventilated area.
Avoid using plastic containers, as they trap moisture and promote mold. A sunny windowsill is ideal for drying, but keep seeds out of direct sunlight to prevent overheating.
Drying takes 3-7 days, depending on humidity levels. Stir the seeds occasionally to ensure even drying. Once fully dry, they should crinkle slightly when touched and feel hard to the touch.
At this stage, they’re ready for long-term storage. Store seeds in paper envelopes rather than plastic bags, as paper allows seeds to breathe and prevents moisture buildup.
Labeling your seeds is a non-negotiable step. Use a permanent marker to write the variety name, year harvested, and any notes about performance (e.g., "resistant to blight"). This ensures you don’t mix varieties and can track which seeds performed best in your garden.
For example, if your 'Black Krim' tomatoes thrived in full sun, note that for future reference.
If you’re saving seeds from hybrid tomatoes, know that the resulting plants may not be true to the parent variety. Hybrids are bred for specific traits, and their seeds often produce unpredictable offspring.
For consistent results, focus on heirloom varieties, which have been selectively bred for generations and produce seeds that grow into plants identical to the parent.
One common question is whether you can skip fermentation. While some gardeners attempt to dry seeds straight from the tomato, this method often leads to low germination rates because the gel isn’t removed. Fermentation ensures seeds are clean, viable, and ready to sprout when planted.
If you’re short on time, you can speed up fermentation by adding a small amount of yeast (1/4 teaspoon per cup of seeds), which helps break down the gel faster.
Finally, test a few seeds before storing the rest to ensure they’re viable. Place a handful of seeds in a glass of water—if they sink, they’re
How to test seed viability and store harvested tomato seeds properly
Once you’ve harvested and dried your tomato seeds, the next critical steps are testing their viability and storing them correctly to ensure high germination rates for next year’s garden.
Even the best seeds lose potency over time if stored improperly, so let’s dive into proven methods to keep them fresh for up to five years.
Before storing, it’s smart to test seed viability using simple methods like the water float test. This quick check helps you separate viable seeds from those that won’t sprout.
For long-term storage, focus on low humidity, cool temperatures, and airtight containers to preserve seed potency. These steps ensure your heirloom varieties remain true to their original traits.
key-takeaway
🌱 How to Harvest Tomato Seeds for Next Year
- Select ripe tomatoes: Choose fully colored, slightly soft fruit.
- Scoop out seeds: Mash seeds and gel into a jar, then add water.
- Ferment 2-4 days: Stir daily to prevent mold; good seeds sink.
- Rinse and dry: Spread seeds on paper towels in a warm, dry spot.
- Store in envelopes: Label with variety and date; keep in a cool, dark place.
To perform the water float test, fill a glass with water and gently drop your dried seeds into it. After 15 minutes, remove any seeds that float—they’re likely non-viable.
The seeds that sink are your best bet for germination. This method works because viable seeds are denser and heavier, while empty or damaged seeds lack this density.
For long-term storage, use paper envelopes or small glass jars with tight-sealing lids. Store them in a cool, dark place, like a refrigerator or basement, where temperatures stay between 32°F and 41°F (0°C–5°C).
Avoid plastic bags, as they trap moisture and encourage mold growth, which can ruin your seeds.
Label each container with the tomato variety and the harvest year to keep track of what you’ve saved. If stored correctly, your seeds can remain viable for 3 to 5 years, though germination rates may gradually decline. Test a few seeds annually to monitor their potency before planting.
If you notice mold or musty odors during storage, discard those seeds immediately. Contamination can spread quickly, so always inspect your storage containers regularly. With these simple steps, you’ll ensure your heirloom tomato seeds stay fresh and ready for next year’s garden.