How To
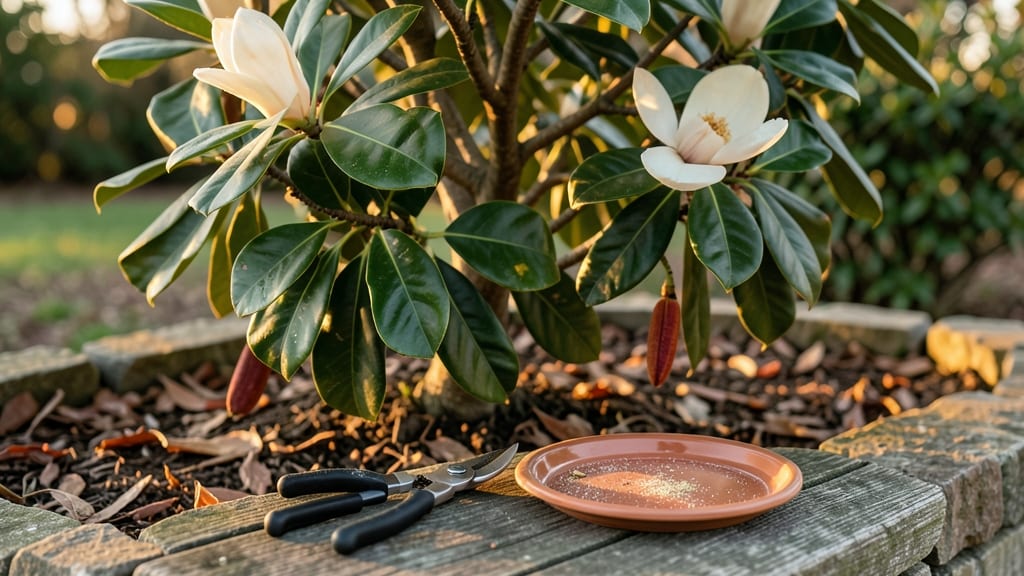
Harvesting magnolia seeds 🌸 means capturing the potential of a future giant—if you time it right, the seeds inside those woody cones can grow into a stunning tree.
Magnolia seeds hold the promise of growing a majestic tree in your garden—but harvesting them at the perfect moment is an art. One wrong move, and you end up with moldy pods or seeds that won’t sprout.
With the right tools and a little patience, you can collect viable seeds that will sprout into thriving plants. I’ll walk you through the exact steps, from spotting ripe cones to drying and storing seeds for spring planting.
Ready to turn those brown, brittle cones into your next garden centerpiece? Let’s get started with the key timing and tools that make all the difference.


When and how to identify ripe magnolia seeds for harvesting
Harvesting magnolia seeds at the right moment ensures high germination rates and healthy seedlings. Unlike many plants, magnolias develop seeds inside woody cones that require patience and observation. The key is watching for visual cues like color changes and texture shifts in the cones.
Timing matters because magnolia seeds need a cold stratification period to break dormancy. If harvested too early, they won’t germinate; too late, and they may lose viability. Most gardeners in USDA Zones 6-9 should harvest between late fall and winter, typically October through December.
Regional climate plays a role too. In warmer southern zones (like Zone 9), cones may ripen earlier, while northern zones (like Zone 6) might need to wait until January or February. Always align your harvest with the first hard frost in your area.
Now, let’s break down the visual indicators of ripe magnolia seeds in an easy-to-reference table:
One of the most reliable signs is when the cones begin to split open naturally. This usually happens after a frost event, signaling that the seeds inside are ready. I always check for this by gently tapping the cone—if seeds rattle inside, it’s time to harvest.
Another trick is to look for seed color changes. Immature seeds are pale and soft, while ripe seeds turn a deep reddish-brown and feel firm to the touch. This color shift is your best indicator that the seeds are viable and ready for collection.
If you’re in a warmer climate (like Zone 9 or 10), cones may ripen earlier, sometimes as early as September or October. In colder zones (like Zone 5 or below), you might need to wait until January or February when temperatures drop below freezing.
Pro tip: Mark your calendar after your first frost. This helps you track when cones typically ripen in your area. For example, in Zone 7, I start checking cones in November and harvest by December.
Finally, avoid harvesting seeds from cones that are still green or sticky. These seeds won’t germinate well because they’re not fully mature. Patience is key—wait until the cones are fully brown and brittle for the best results.
Once you’ve identified ripe seeds, the next step is harvesting and processing them properly. This ensures high germination rates and prevents mold or premature sprouting.
Step-by-step process for harvesting and processing magnolia seeds
Harvesting magnolia seeds requires patience and precision to ensure high germination rates. Once you’ve identified ripe cones (fully brown and brittle), the next steps are critical for preserving seed viability. Start by gathering your harvesting tools, including pruning shears, gloves, and a clean bucket, to avoid contamination.
Timing is everything—harvest seeds on a dry, cool day to prevent mold growth. Work gently to avoid damaging the seeds inside, which are encased in a sticky, resinous coating.
This natural protection helps deter pests but also makes handling tricky. With the right approach, you’ll maximize your chances of growing healthy magnolia seedlings.
Step-by-Step Guide to Harvesting and Processing Magnolia Seeds
-
Step 1: Collect the Cones
Gently twist or cut brown, dry cones from the tree using pruning shears. Place them in a paper bag to allow airflow and prevent moisture buildup.
-
Step 2: Extract the Seeds
Shake cones over a clean tray or bucket to release seeds. For stubborn cones, use a wooden spoon to tap them gently—avoid metal tools to prevent seed damage.
-
Step 3: Clean the Seeds
Remove debris by rinsing seeds in lukewarm water. Use a fine mesh strainer to separate viable seeds (dark, firm) from empty or damaged ones.
-
Step 4: Dry the Seeds
Spread seeds on paper towels in a well-ventilated area for 3–5 days. Ensure they’re completely dry to prevent mold—seeds should feel light and brittle when ready.
-
Step 5: Store Properly
Place dried seeds in a paper envelope or breathable container. Label with the harvest date and store in a cool, dry place (50–60°F) for up to 6 months.
-
Step 6: Stratify for Germination
Mix seeds with moist peat moss in a sealed bag. Refrigerate for 90–120 days to simulate winter conditions—this breaks dormancy and boosts germination success.
If you encounter sticky residue on seeds, don’t panic—it’s natural! Simply wipe it off with a damp cloth before drying. For low germination rates, check for mold or soft seeds, which signal improper drying. Always prioritize seed freshness and avoid overhandling to maintain viability.
With these steps, you’ll transform magnolia cones into healthy seedlings ready for planting. Patience during drying and stratification pays off with robust growth. Happy harvesting! 🌳